I expect I should have done all the ceilings and skirting board through the whole house at this point but I'm too impatient to do it that orderly and have decided to complete (more or less) each room before I move to the next. Anyway I bought the skirting and coving but the dado rail is made with a double row of bamboo skewers.
All the woodwork is painted nut brown and I papered it with real wallpaper. I was unsure about the floral design, but like the finished effect. The floor is computer printed 'lino' on photo paper, this looked fine at this stage but by the time I had the room furnished I wished I'd looked for something better

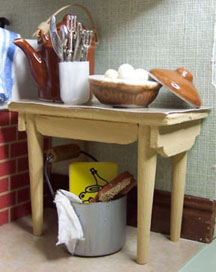
Well that's the kitchen done for now, there's still room for little extras to be added over time though. It has taken several weeks to get this far so I can see it will be many months work to do the whole house. I had the big table and the vacuum cleaner in my original house to start with but they fit in this one much better.
(My son has just asked, as I am mainly having floorboards and rugs in this house why does it need a vacuum!!) .
Still not sure about the floor and now it has a small damaged area at the front, might have to try replacing it at some point.

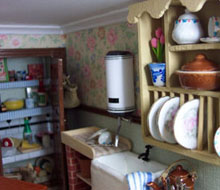
The converted cooker, does it need something on the wall above?
I am still thinking about that
I didn't feel able to make a cooker correctly so I bought one. It was disappointing when it arrived because it looked awful, too tall and thin and stark.
I shortened and widened the back then added some painted bendy plant ties for pipes with jewellery findings for knobs and joins.
Think I would have done as well building it from scratch, however I think the finished result is acceptable.

Drawing on my experiences from furnishing my first house, I first made and dressed the pantry shelves before I built the walls around them.
I love the pantry,I made the meat from bread dough, the crate from lolly sticks, the jelly from glue and the milk bottle from a bullet connector (from inside a car radio) with a paperclip lid.
The basket hanging behind the door is another of my tapestry fabric creations
. 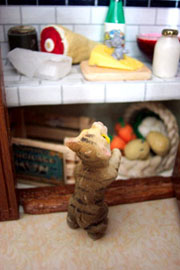
When I saw the little mouse in the cheese I had to buy him, it then took me weeks to find a suitable cat to set the scene.
Aren't they delightful?